
Set Up MIDI Control
Wire a MIDI controller's knobs, faders, and buttons to Spectralite actions in the MIDI Input dialog.
A hardware MIDI controller can adjust parameters and trigger effects during a live performance. You wire a controller's knobs, faders, and buttons to Spectralite actions in the MIDI Input dialog.
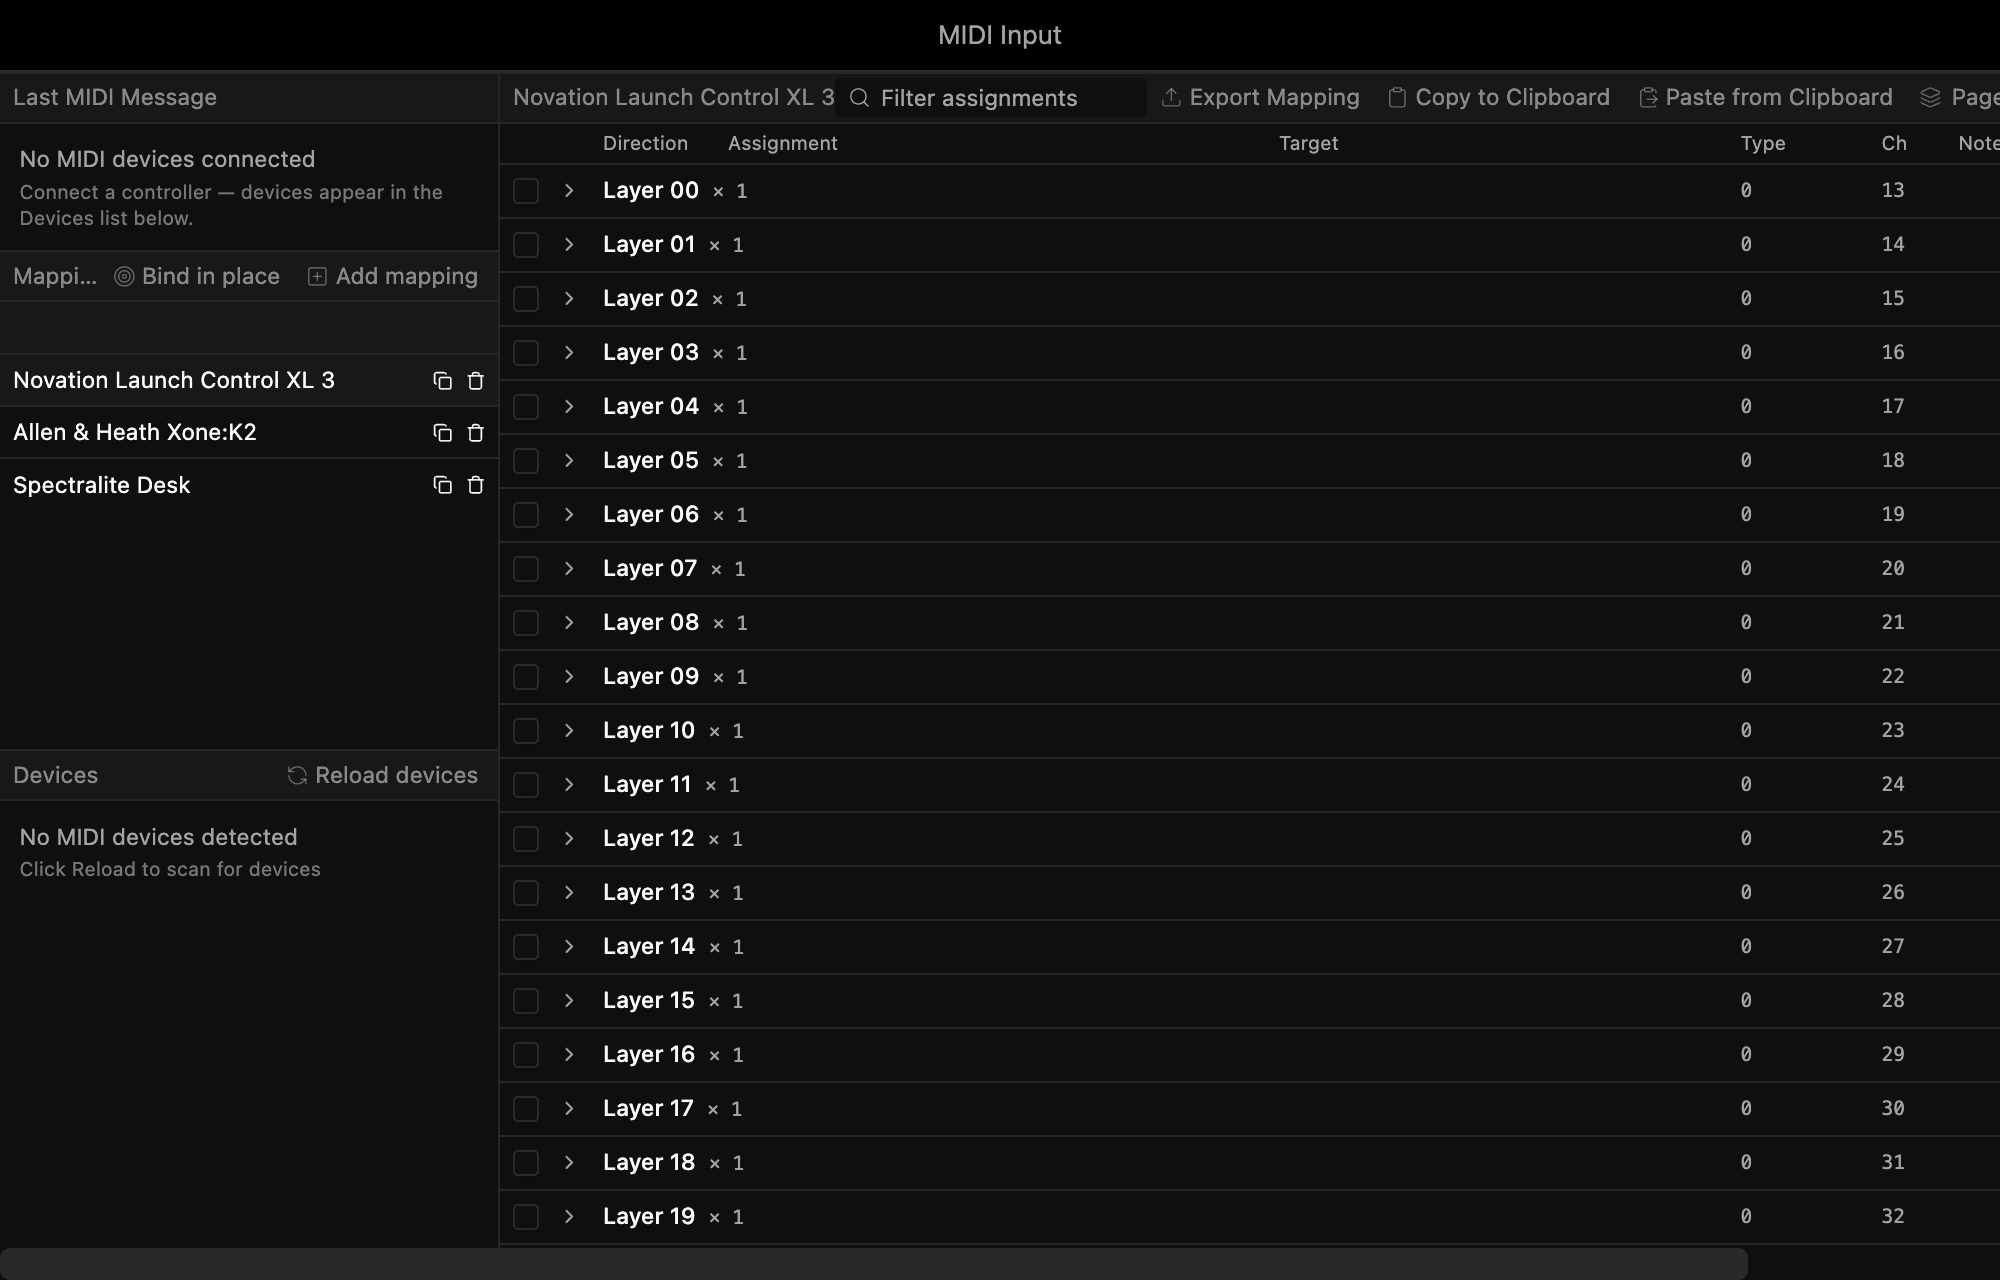
Connect your controller
- Plug the controller into your computer over USB.
- Open Edit > Inputs > MIDI.
- The controller appears in the Devices list on the left. If it is missing, click Reload devices.
Create a mapping
A mapping is a named group of assignments. You pick one mapping per device, and its assignments set how that device's controls drive Spectralite.
- Under Mappings, click Add mapping.
- Name the mapping.
- Select the mapping to open its assignment table on the right.
- Click Add assignment. The dialog listens for the most recent MIDI message.
- Move a knob, fader, or button. Its MIDI type, channel, and controller number appear.
- Click Apply to use those values, or type them in by hand.
- Pick an action type and target: layer opacity, BPM, a parameter value, and so on.
- Click Submit. The assignment takes effect immediately.
Back in the Devices list, choose the new mapping from the dropdown next to the controller. A device can have only one active mapping at a time.
Common mappings
| Control | Maps well to |
|---|---|
| Faders | Layer opacity, master dimmer |
| Knobs | Effect speed, color parameters |
| Buttons | Layer solo, effect triggers |
| Pads | Tap tempo, layer activation |
Keep separate mappings per show or controller layout. To reuse a mapping across projects, save it to the Library Manager.